
Learn how to troubleshoot phone registration issues by checking IP settings, configuring SIP accounts from the LCD screen or web interface, and verifying registration status step by step.
This guide is intended for troubleshooting registration-related issues on the phone and helping users identify and resolve the problem efficiently.
This guide applies to all of our phone models.
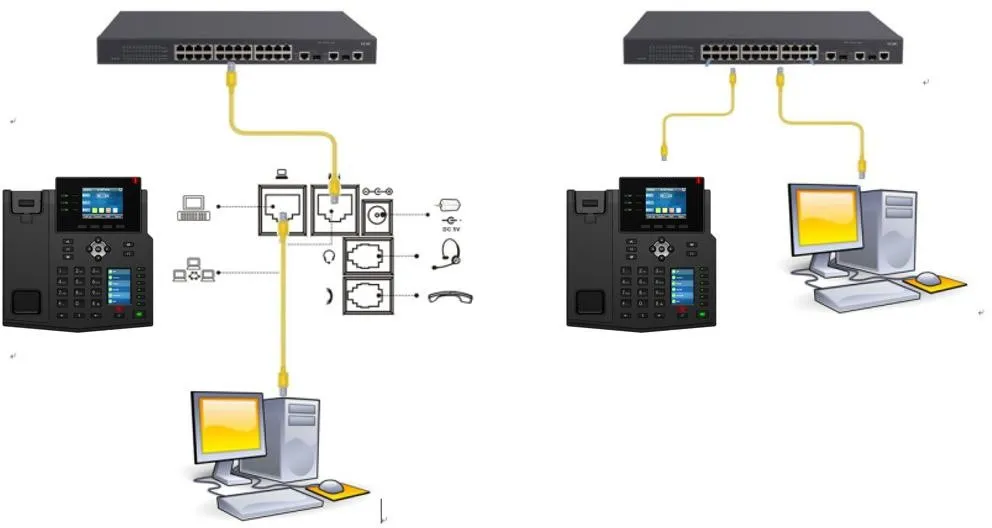
① Two BX4U phones connected to a switch and able to obtain IP addresses automatically.
② One configuration PC connected to the same switch, with network communication between the PC and the phones confirmed.
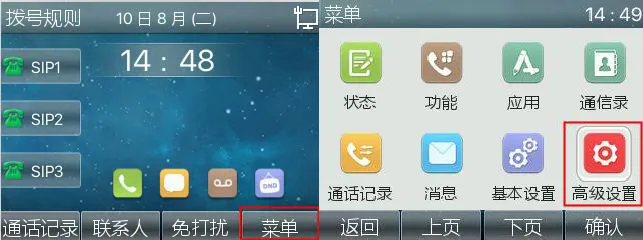
On the phone LCD screen, go to Menu — Status to view the current IP address of the phone.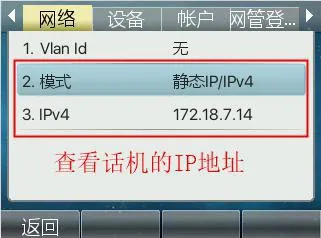
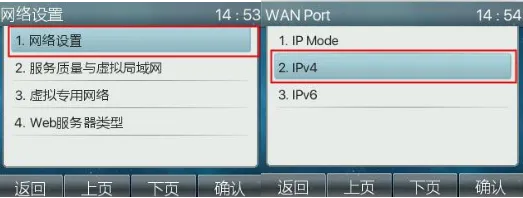
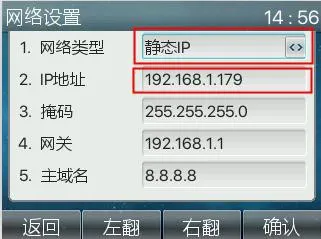
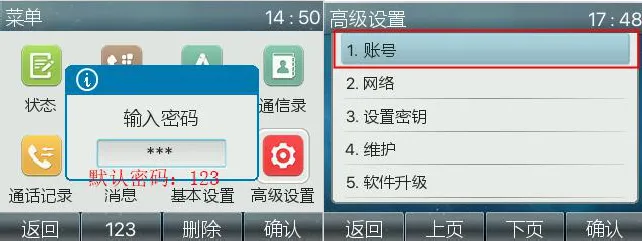
On the LCD screen, go to Menu -- Settings -- Advanced Settings (default password: 123) -- Network -- Network Settings -- Network Type -- Static Settings, then enter the required IP address information and click Save, as shown below in Figures 1 to 7.


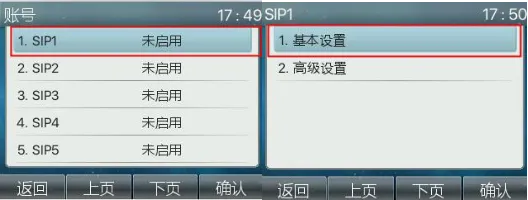
On the LCD screen, go to Menu -- Settings -- Advanced Settings (default password: 123) -- Account -- SIP1 -- SIP Basic Settings, then enter the server address, server port, SIP username, authentication username, authentication password, and display name, as shown below in Figures 1 to 9.
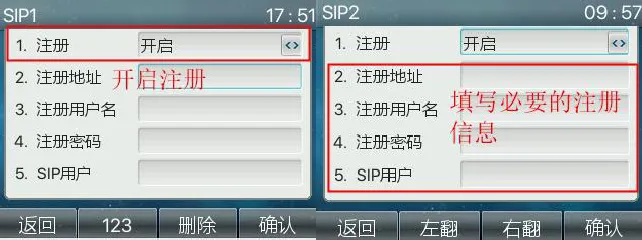
Note: During registration, make sure to enter the server address, registration account, username, and password. Also ensure that the account is enabled before saving the configuration.
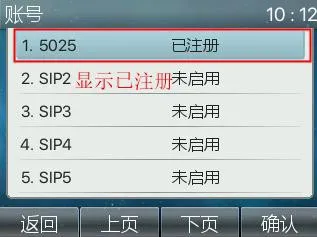
Go to Menu -- Settings -- Advanced Settings (default password: 123) -- Account, then verify whether the line status shows as registered.
On the phone LCD screen, go to Menu — Status to view the current IP address of the phone.

Open a browser on the PC and enter the phone IP address in the address bar.
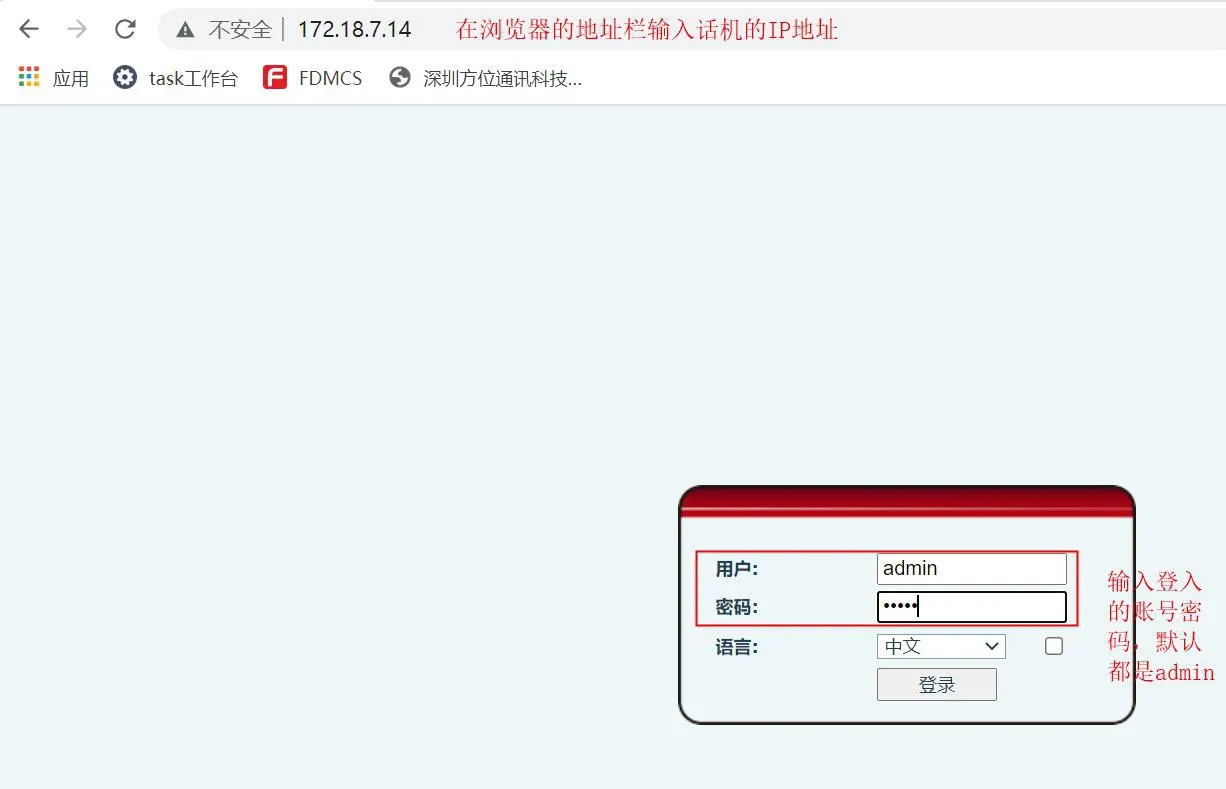
Change the phone IP address if necessary.
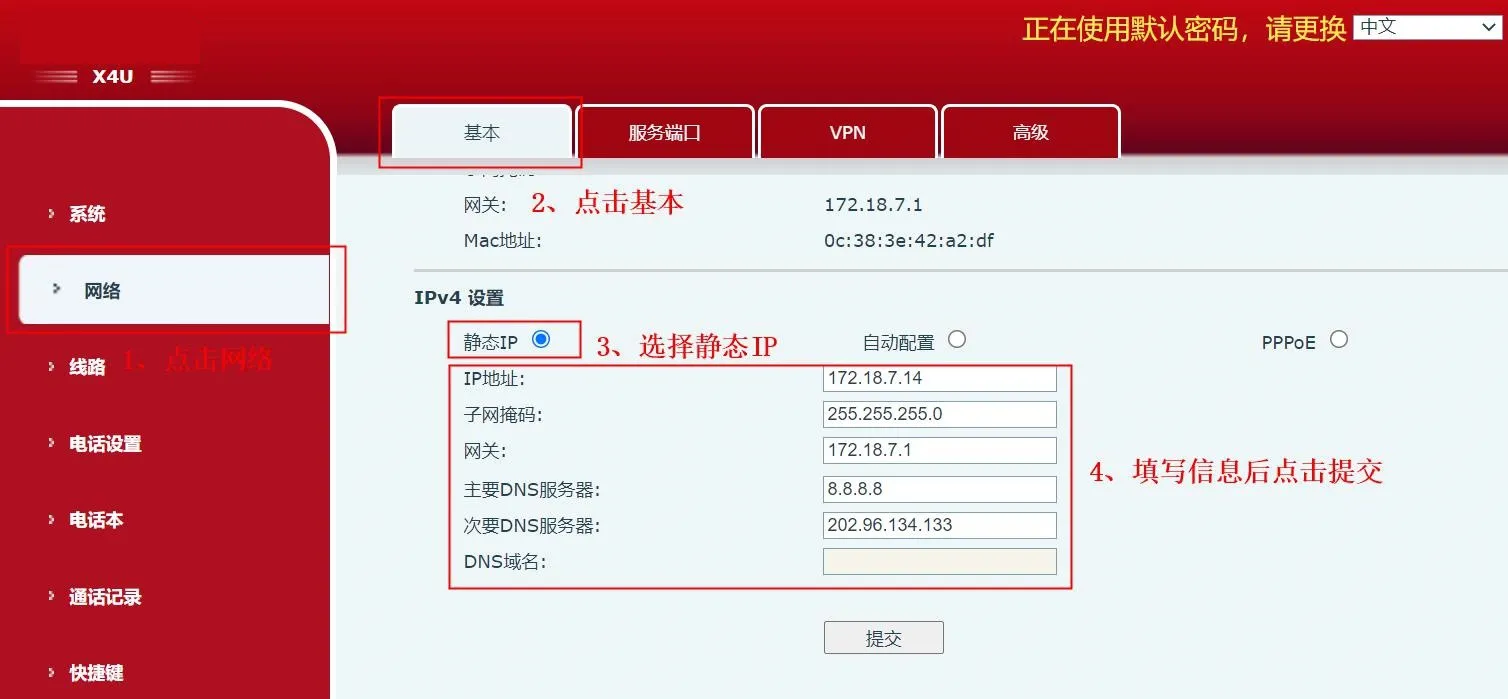
Go to Network — Basic, choose Static IP in the Settings section, enter the required IP address information, and click Submit.
Go to Line -- SIP -- Basic Settings, then enter the SIP account information, password, port, server address, and other required details. Enable the account and click submit.
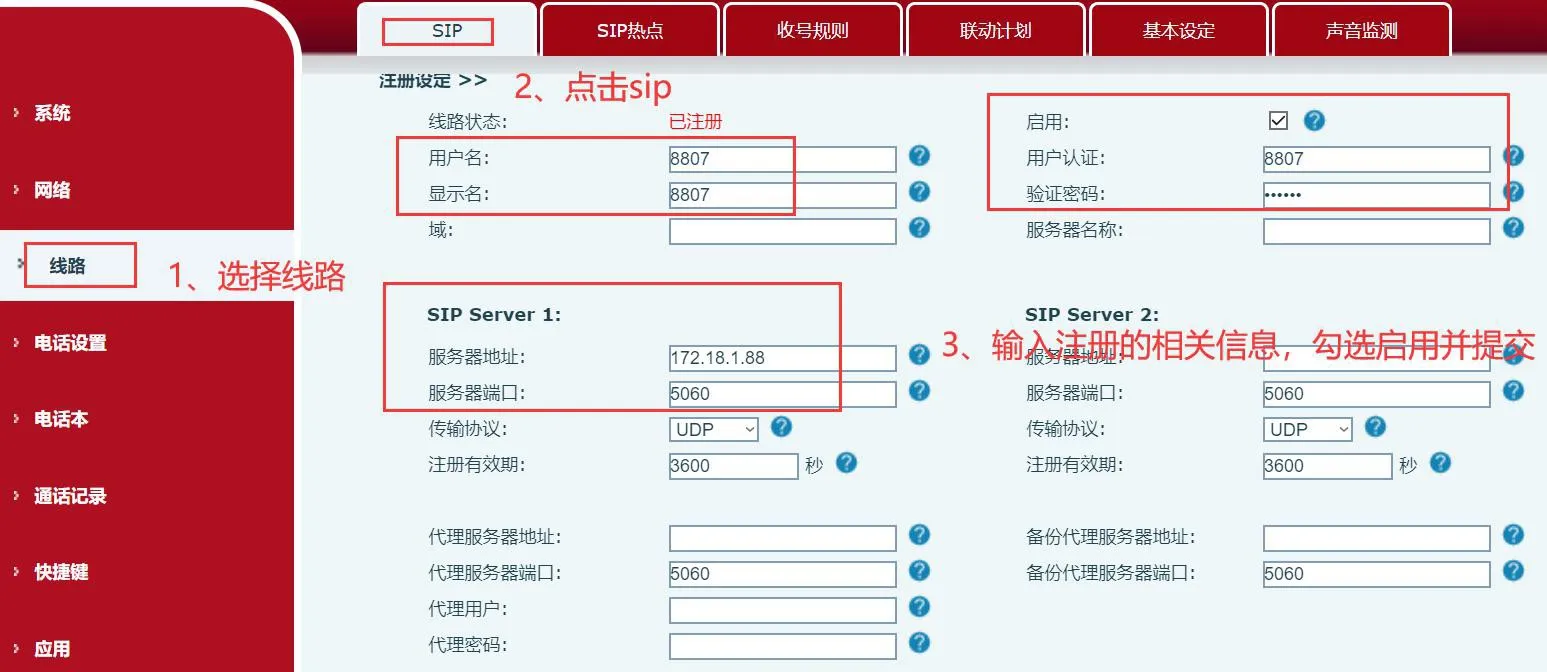
On the Line page, check the line status. If the status shows as registered, the phone has registered successfully and is ready to make and receive calls.