
This guide explains how to upgrade intercom access control firmware in POST mode, covering FTP server setup, PC IP and Telnet configuration, entering POST MODE, executing upgrade commands, clearing configuration, and rebooting.
This article introduces industry devices with a structure similar to a Windows system. The device Post is similar to a computer BIOS, while firmware is similar to the computer operating system. When a computer system is damaged, it can be reinstalled for recovery. Similarly, when a device cannot start normally, the system can be restored by upgrading in Post mode.
BHP-SOS12,BHP-SOS16V,i18S,i20S,i30S,i31S,i23S,i32V,i33V,BK-DAB-PA2。
① A server for POST upgrade. In this case, an FTP server is required
② Software upgrade package for firmware flashing
③ Telnet tool, such as the built-in Telnet function of the computer, Putty, or SecureCRT
④ Connect the device to the switch, and connect the computer to the same switch as the device. Ensure network communication between the computer and the switch, as shown below: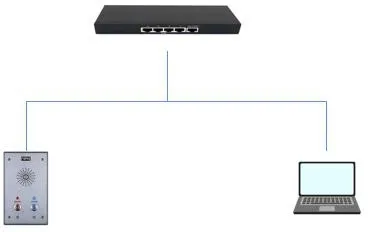
1. Run wftpd32 on the computer and select Security ->User/rights…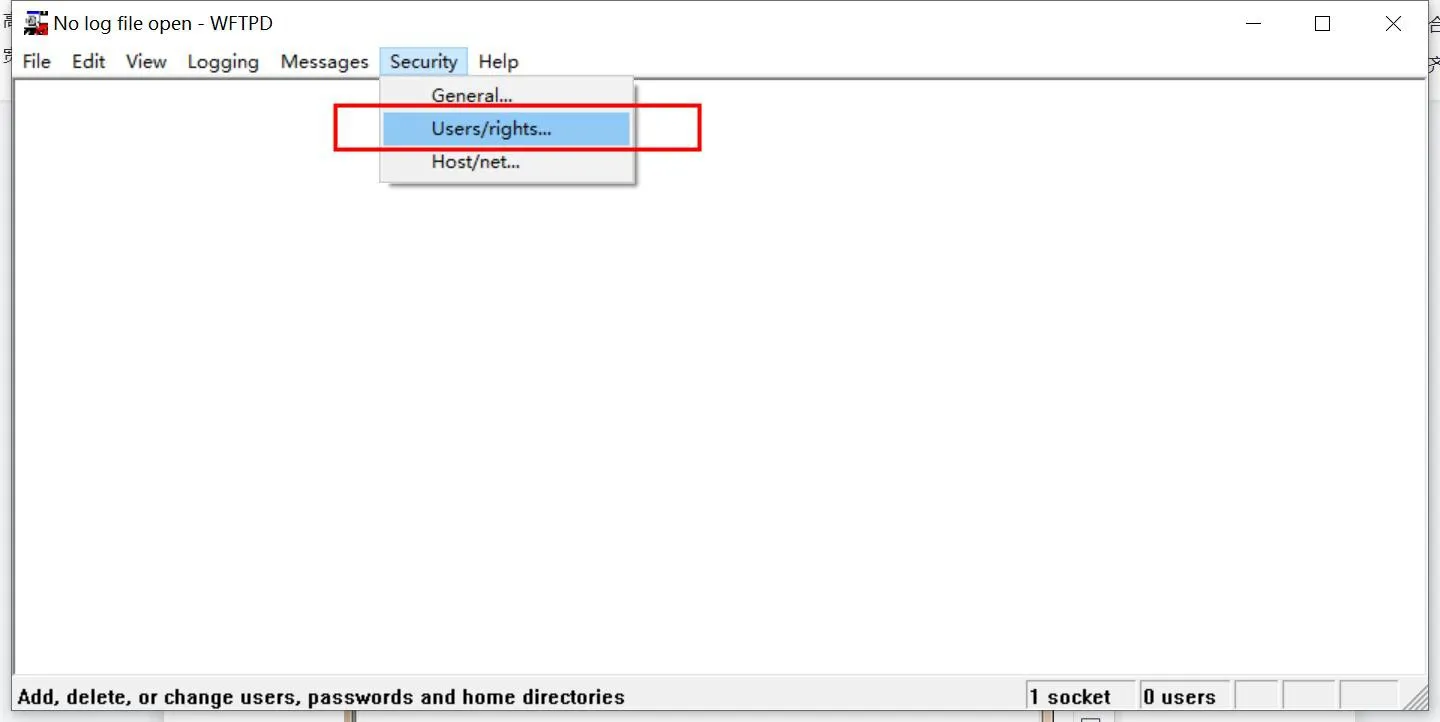
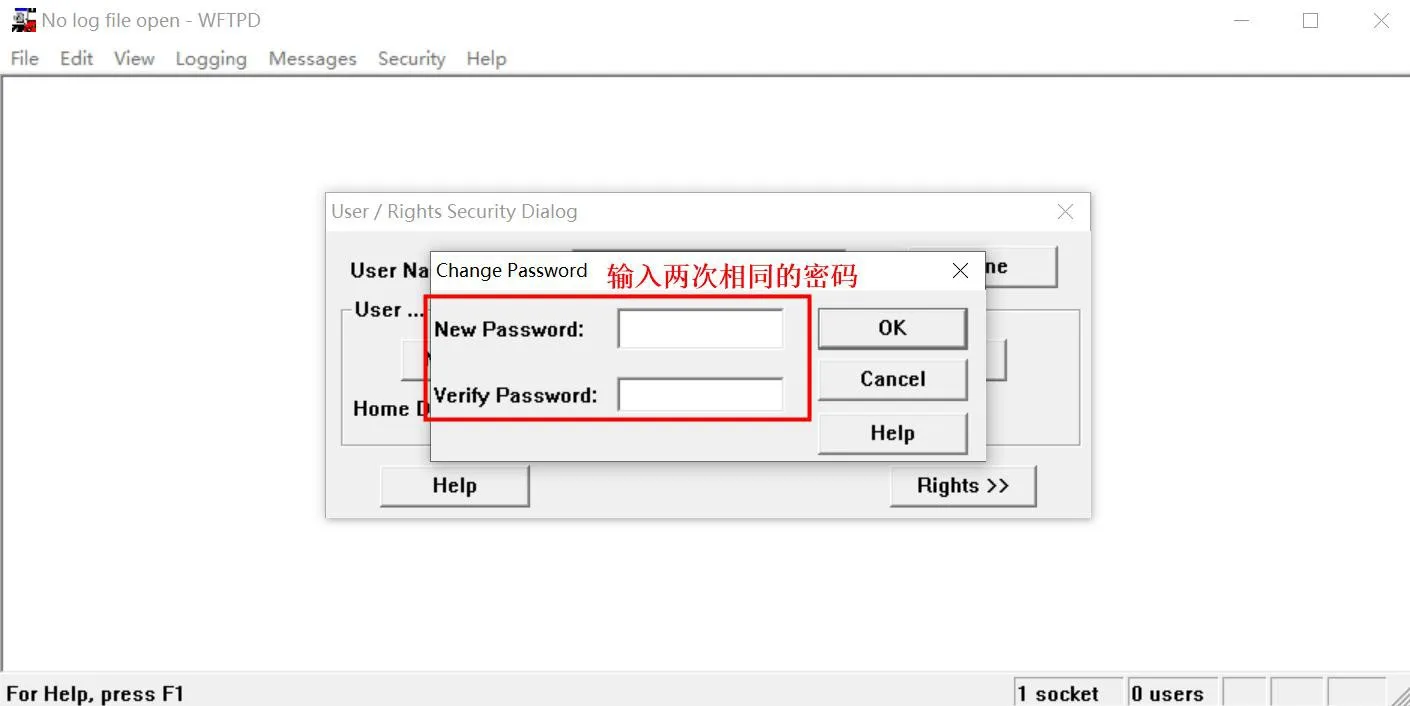
2. Create a username and password for accessing the FTP server: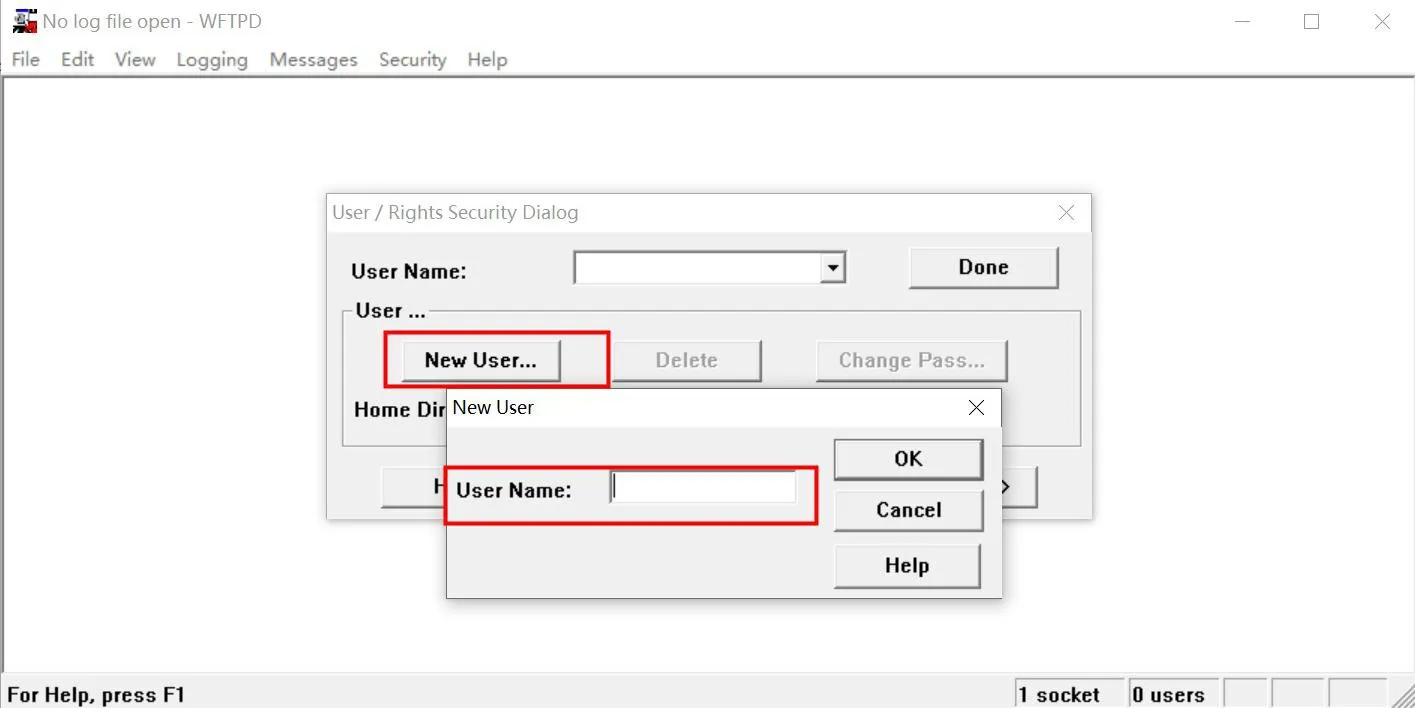
3. File storage:
Enter the storage path of the upgrade package in Home Directory, select “Restricted to home”. After completing the settings, click “Done”, as shown: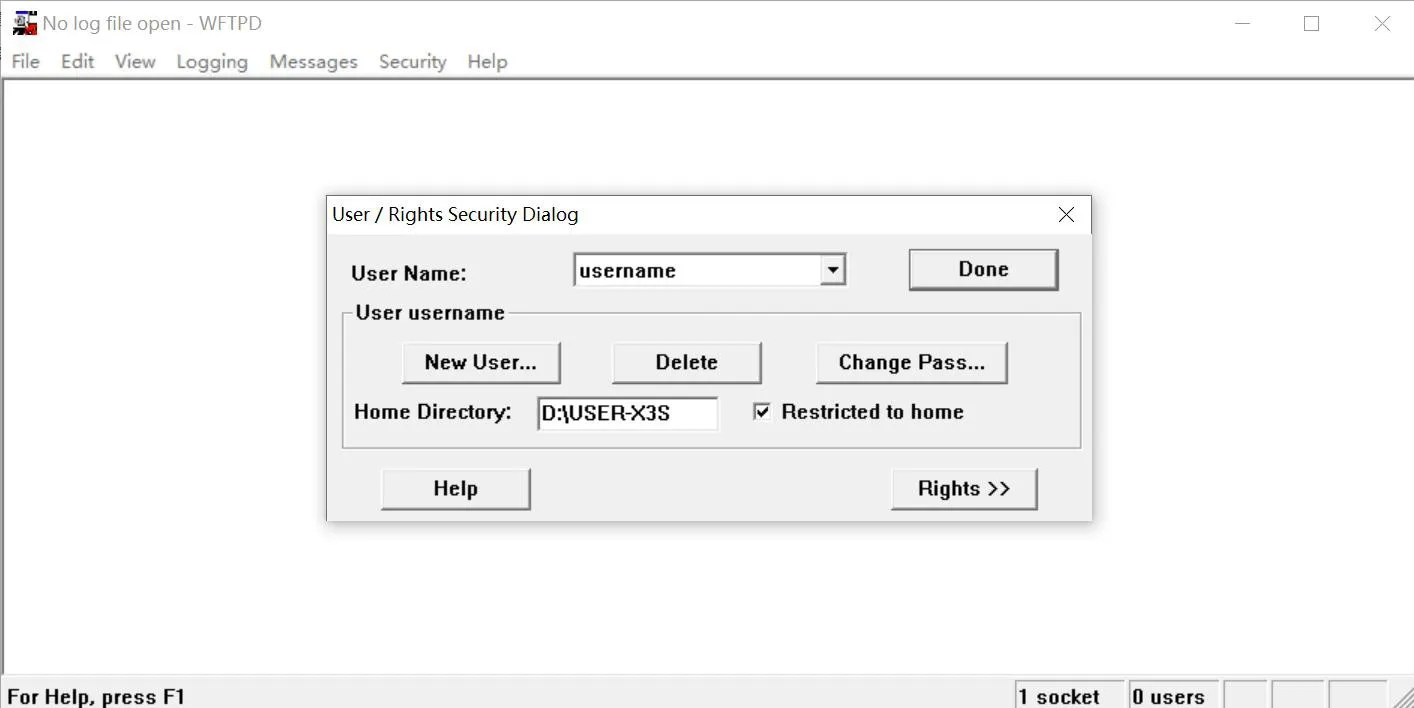
4. Enable the log option to view the upgrade status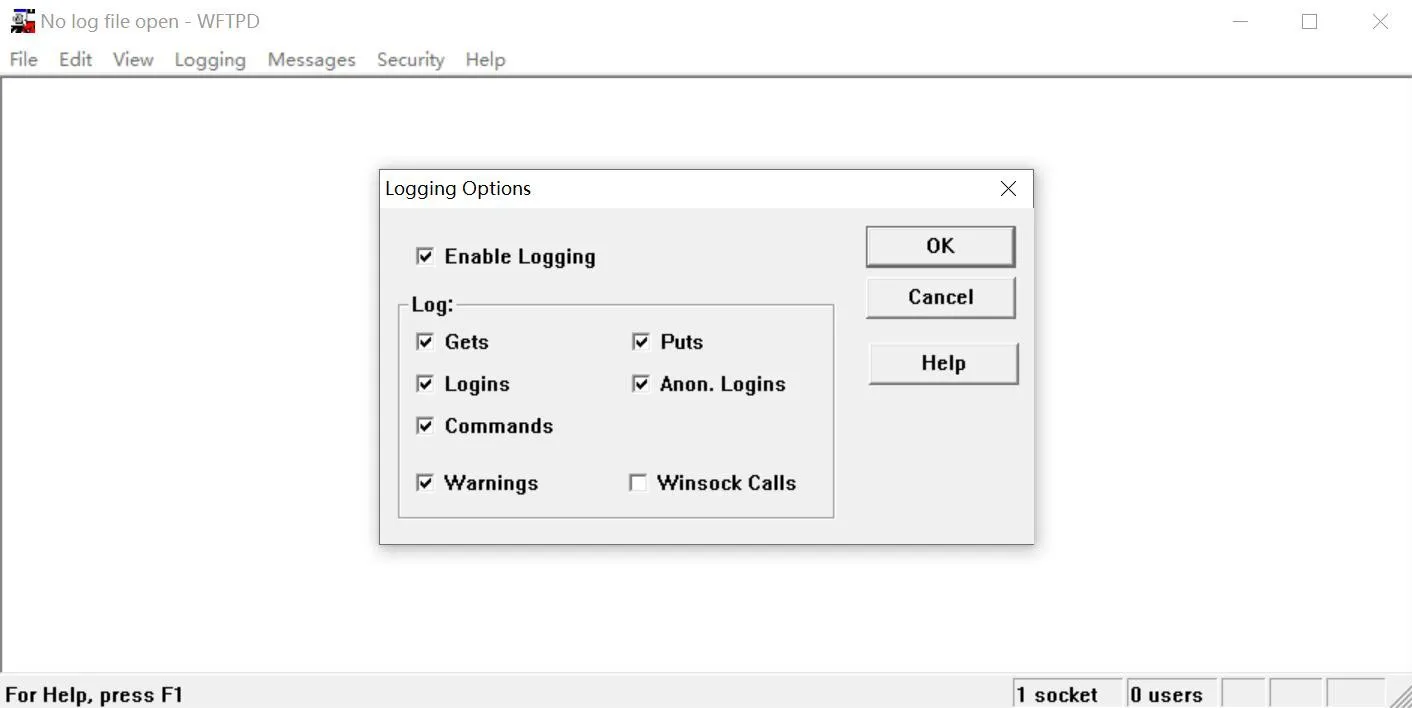
[Note] Do not close the FTP server during POST software upgrade
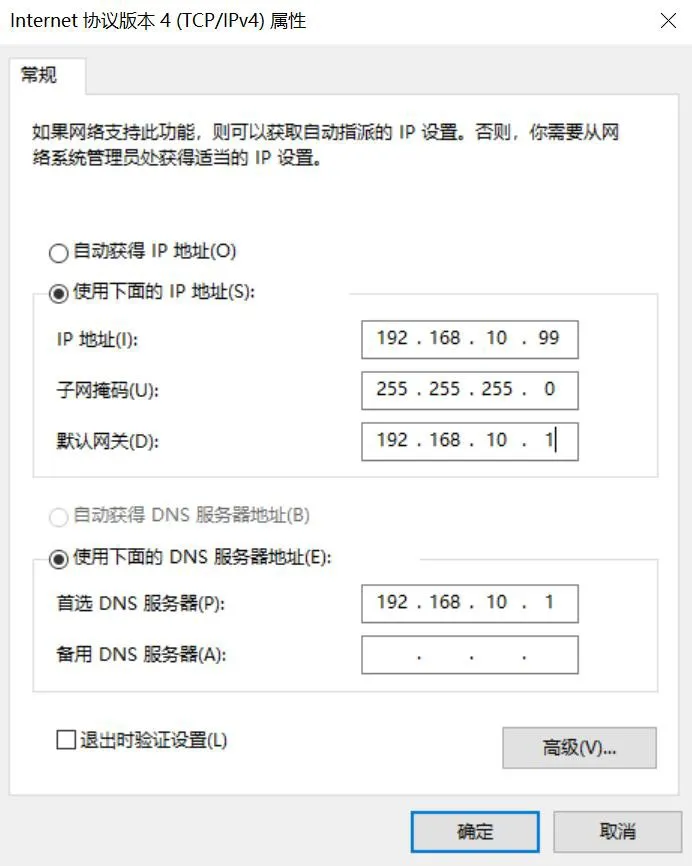
1. PC configuration
Configuration information: IP address (I): 192.168.10.99 Subnet mask (U): 255.255.255.0 Default gateway (D): 192.168.10.1
Take Windows 10 system as an example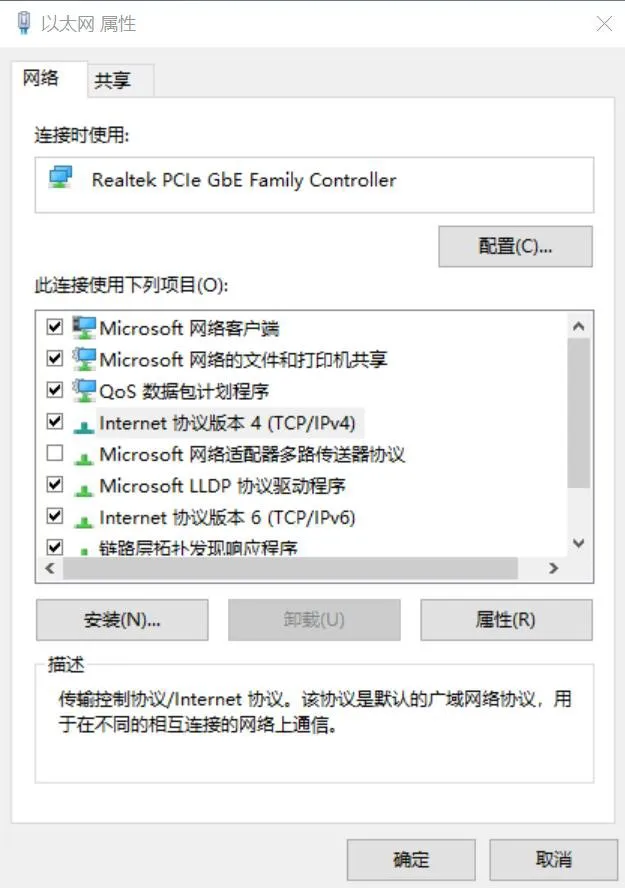
2. Enable the Telnet service on the computer
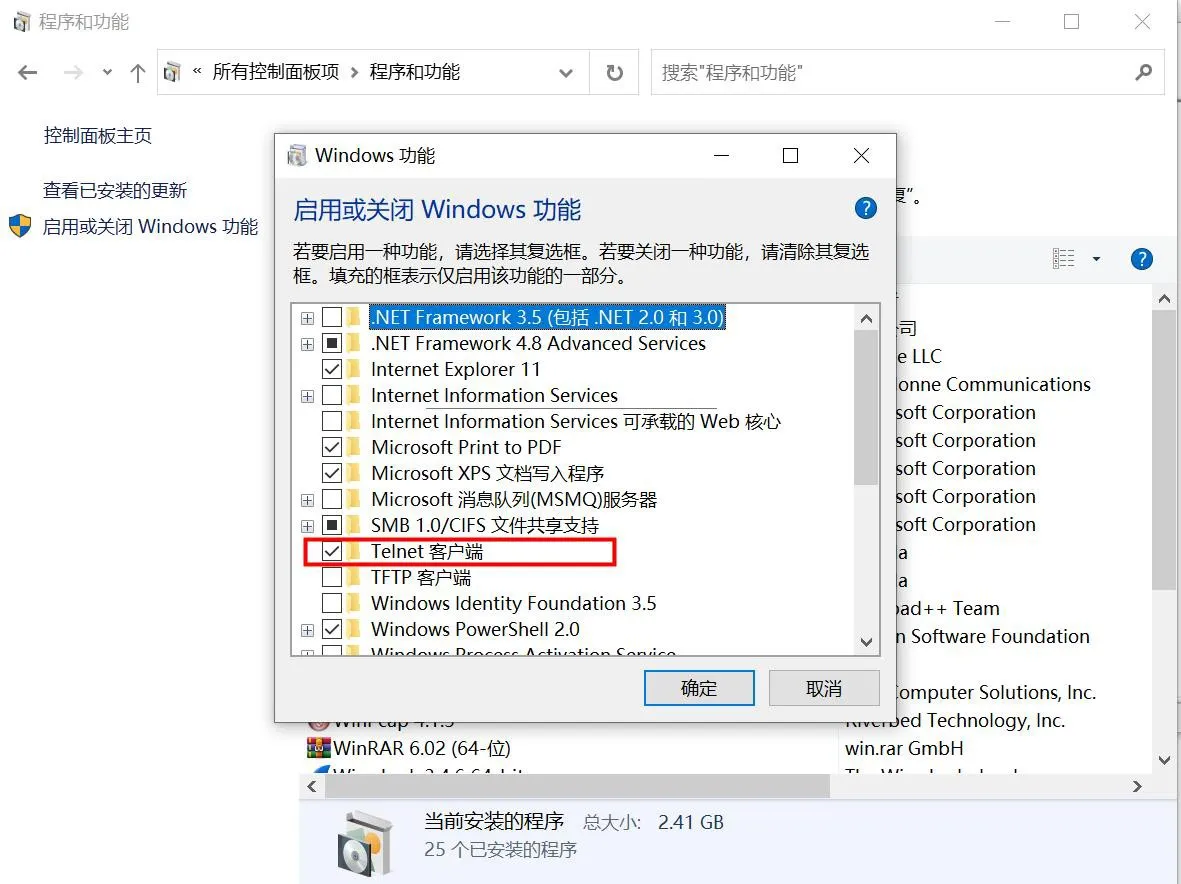
First open Control Panel, click “Programs and Features”-“Turn Windows features on or off”, and check “Telnet Client”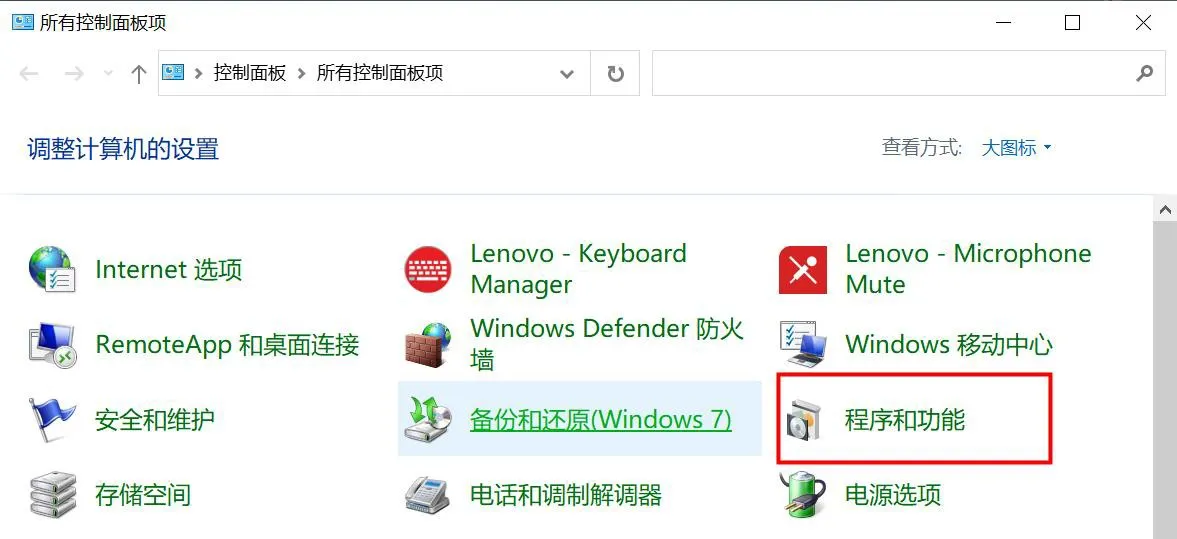
1. Make the phone enter POST MODE
Connect the PC network port directly to the WAN port of the intercom, or place both in the same LAN. Then restart the device. During restart, for BHP-SOS12, BHP-SOS16V, i18S, i20S, i30S, i31S, i23S, i32V, and i33V, press and hold the terminal “*”+“#” keys for 10 seconds to make the terminal enter post mode;
For PA2, press Volume+ and Volume- at the same time for 10 seconds during restart to enter post mode. In POST mode, the default IP address of the device is: 192.168.10.1
2. Press WIN+R on the computer at the same time to open the cmd interface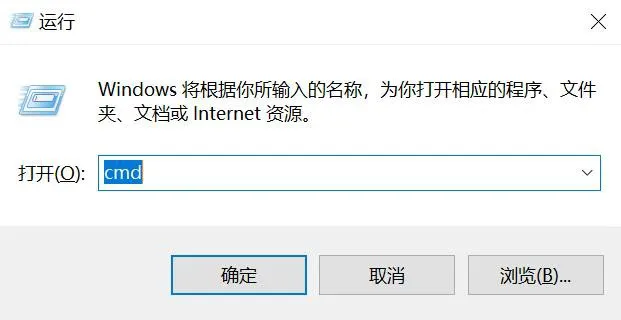
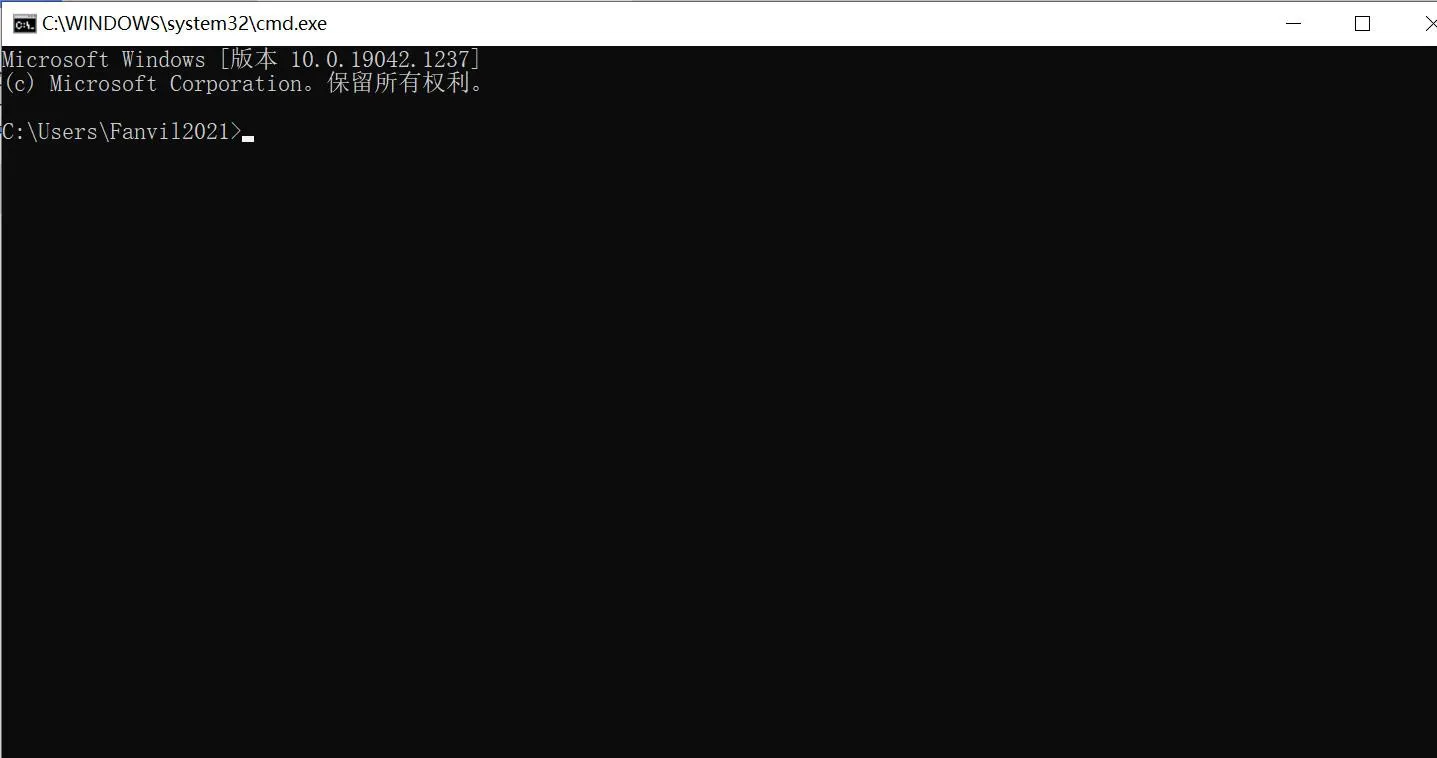
3. Enter the upgrade command to start the upgrade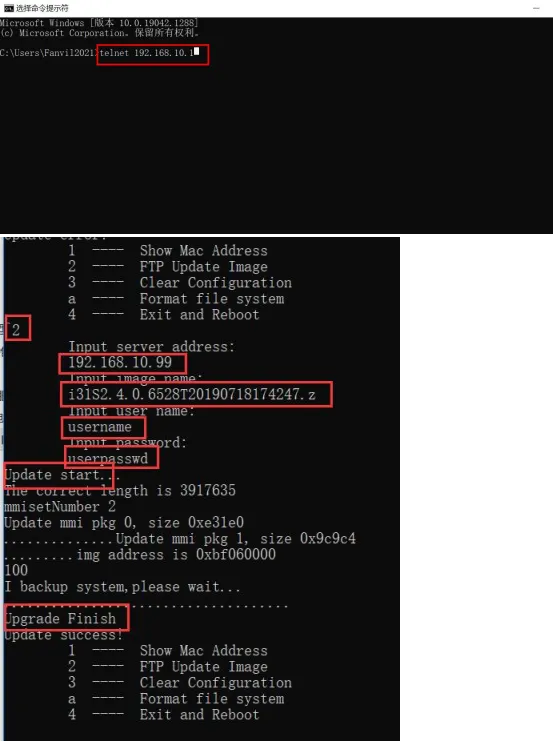
Related download information will also be displayed in the FTP server window: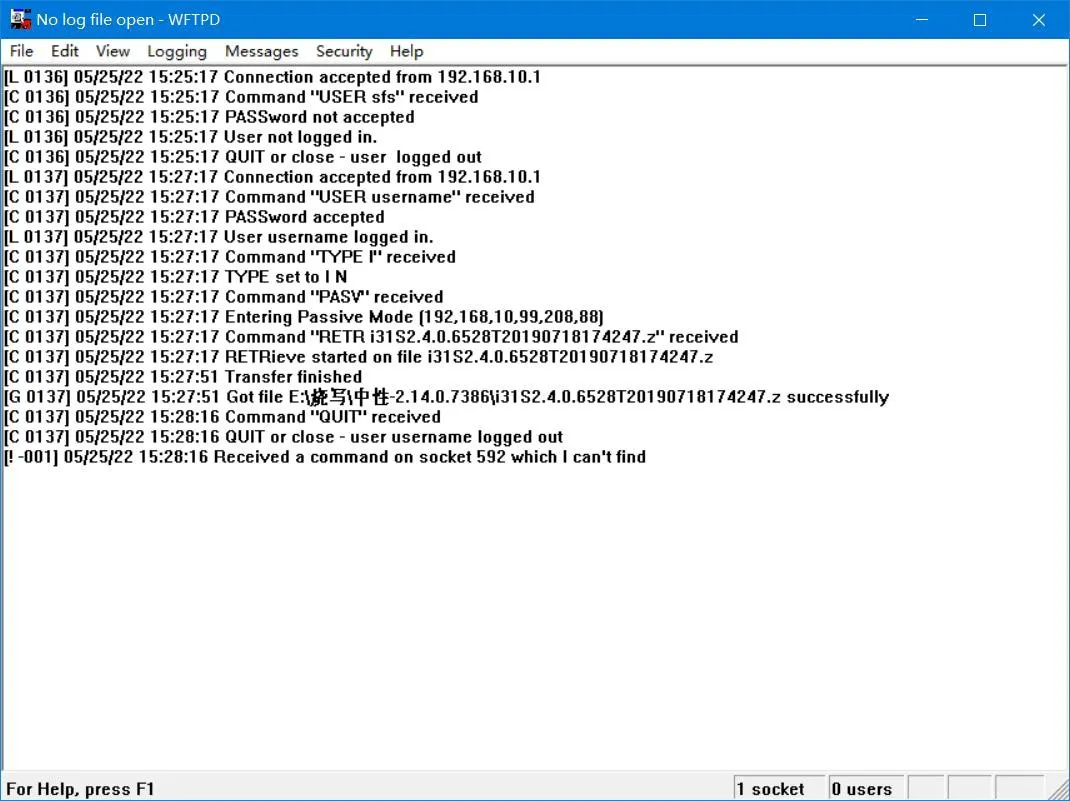
Execute command 3 to clear the configuration and restore factory settings.
Execute command 4 to restart the device. The upgrade is complete.